Notifications are essential to ensuring that your online proofing projects run smoothly. It’s critical that they are sent at the right time and with the right number. Too early or too often, and people ignore them. Too late, and deadlines are missed.
ReviewStudio supports a number of notification options to ensure your reviews are addressed in the most timely manner. In this post, we’ll review the various notifications that are available in ReviewStudio and also highlight some recent updates we’ve made.
General Share Notifications
When you create or update a Review or a specific file within a Review, you can send out an explicit notification to all or any of the Review participants by using the Notify tab in the Review (or File) share menu. These notifications generally contain explicit instructions on what actions the people you are sharing with are expected to undertake.
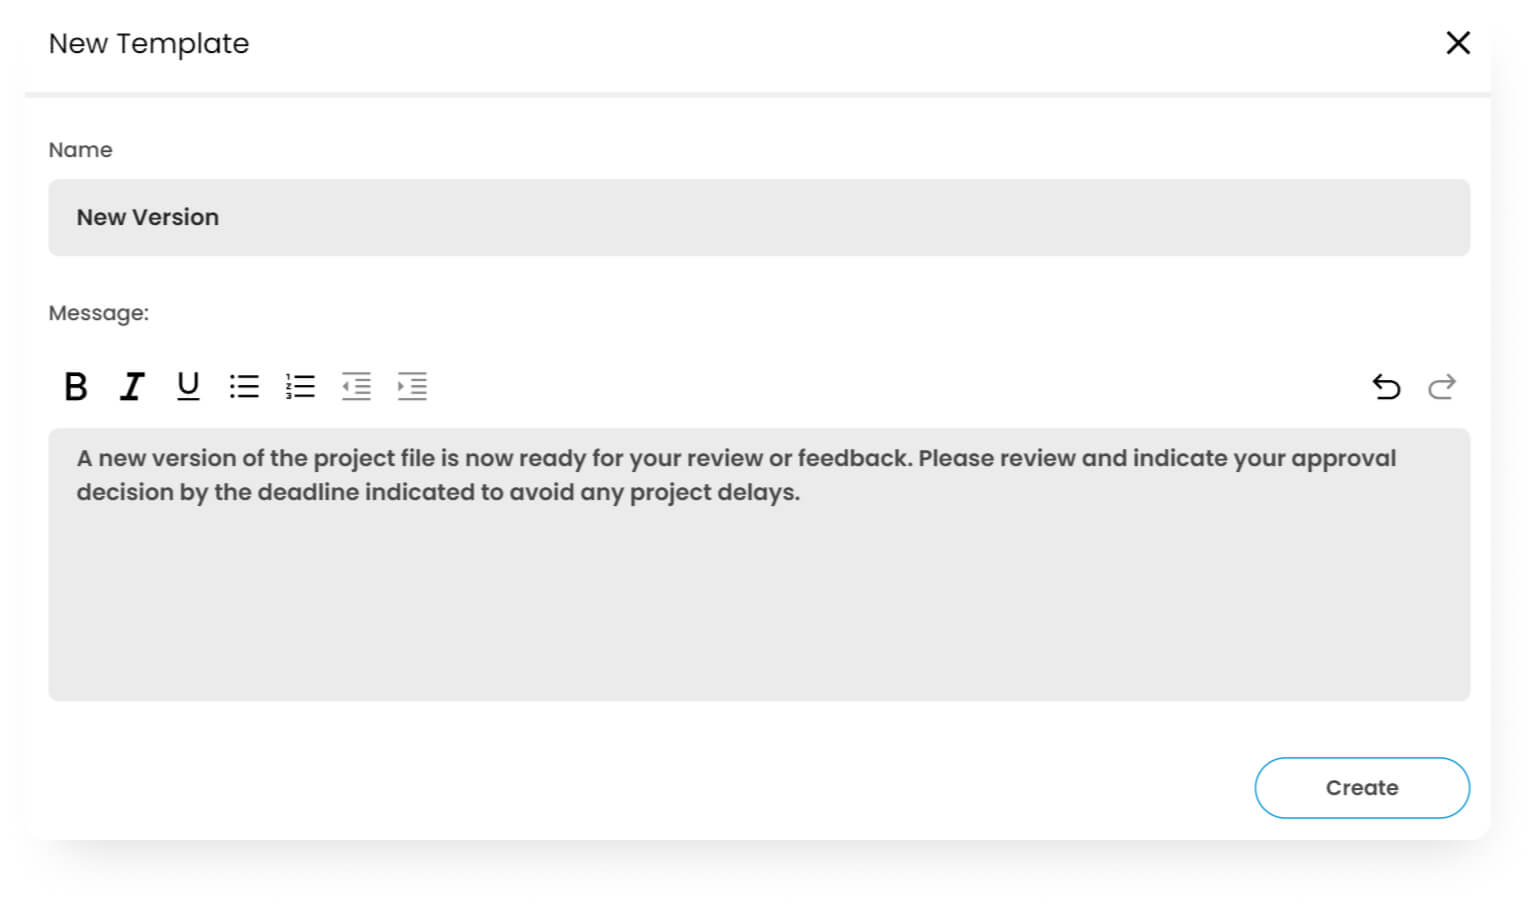
Most often, your instructions will tend to be the same from project to project. To help with some of the manual lifting, you can also create notification templates that can be used to quickly add the instructions you want to include.

Note that when using Workflow automations, you can set the specific notification template you want to send to each individual at the beginning of each stage of the review process. For Workflow notifications, the use of Templates is required.
Comment Tagging
During the review process, you can direct the comments or feedback you’re adding toward specific people by tagging them with the use of the @mention feature. When you type @ in any comment box, you can select from the users you want to tag from the dropdown menu that’s displayed.
When you tag someone, they will immediately receive an email notification containing the text of your comment as well as a link to the file so that they can view the comment in context and respond quickly.
Automated Notification Preferences
Outside of the above-mentioned explicit notifications, authenticated users can keep apprised of the activity occurring in all the Reviews they are participating in by activating the notification options in their user profile.
These automated notifications can be triggered whenever there is a new comment, task activity, or approval decision made in a Review.
To help manage the amount of emails you receive from these notifications, you can also set the frequency that you want them sent. You can set the frequency to hourly – in which you will receive a digest of all the activity that occurred over that period (if any activity occurred). But if you’re working to a critical deadline, you can opt for “Immediate” notifications and receive an email as soon as any action is taken.

Keep in mind that each user controls their own notifications. Admins may also adjust the frequency settings of any user.
Notifications Feed
The in-app notifications feed helps you keep track of ongoing activity in your Reviews. Located in the top right corner of the dashboard, the feed icon displays a number indicating how many new notifications there are since you last checked. A red dot will display on new activity. The feed also includes a direct link to the affected item.

Deadline Reminders
When it comes to deadline reminders, there are two options, “single” and “multiple”.
The default setting is the multiple reminders. Two reminders will be sent out to all participants prior to a deadline (24 and 4 hours in advance). After a deadline, late reminder notifications will continue to be sent once daily for 7 days but only to people that still have outstanding approvals or tasks to complete. The Review owner will also receive the notification to keep them informed.
If you prefer to have only one reminder, the single notification option will send one reminder to all Review participants 24 hours before the deadline.
Admins can set an account-wide preference, either as single or multiple, in your Account Settings > Reviews menu.
Notification Customization
All the notification emails discussed above have a similar layout and format. They will also show as coming from the name of your organization (set on the Settings > Configuration menu) and will include the background color and logo that you specify in the Settings > Branding menu.
Notifications relating to a specific file will include the thumbnail of that, while notifications relating to an entire Review will show the thumbnail you set as the “Set as Featured Image” in the Review edit menu (the same thumbnail that shows on the dashboard).
To learn more about these and more, check out all our online proofing features.


